Egg Free Apple Upside Down Cake

Apples have been a big part of me growing up. We always had a love and hate relationship, however since the pati now loves it a LOT; we always have some in the fridge. Anyway this apple was somehow tucked behind the flours in the fridge. When I found this one, it was frail and the skin was starting to shrivel. So this cake came to life 🙂

You shall need:

1 large apple [Skin it and soak it in salted water]

4 tbsp Brown sugar

2 tbsp melted butter

1 cup curd

1.5 cup All purpose flour

3/4 cup powdered sugar

1.5 tsp Vanilla Essence

1.5 tsp Cinnamon powder

1 tsp Baking soda

1.5 tsp Baking powder

1/4 cup oil

Method:

  • Pre heat oven to 180C.
  • Line a springform pan with butter paper on the base and brush the sides with butter.
  • Cut the apple in thin slices and keep aside.
  • Mix 2 tbsp butter with 3 tbsp brown sugar and spread on the base of the pan.
  • Line the apples in the tin in the fashion that you like.
  • Sprinkle the remaining brown sugar on the apples and keep aside.
Eggless Upside down apple cake
  • In a bowl add curd and sugar and wisk it well.
  • Now add the vanilla and mix. Add the baking powder and soda and let it sit for atleast 10 min. This will make the curd bubble and give us the much needed sponge in the cake.
  • Sift the flour and cinnamon and add half of it to the curd mix.
  • Add the oil and mix well.
  • Add the remaining flour and mix gently. Do not overmix. mix only until combined.
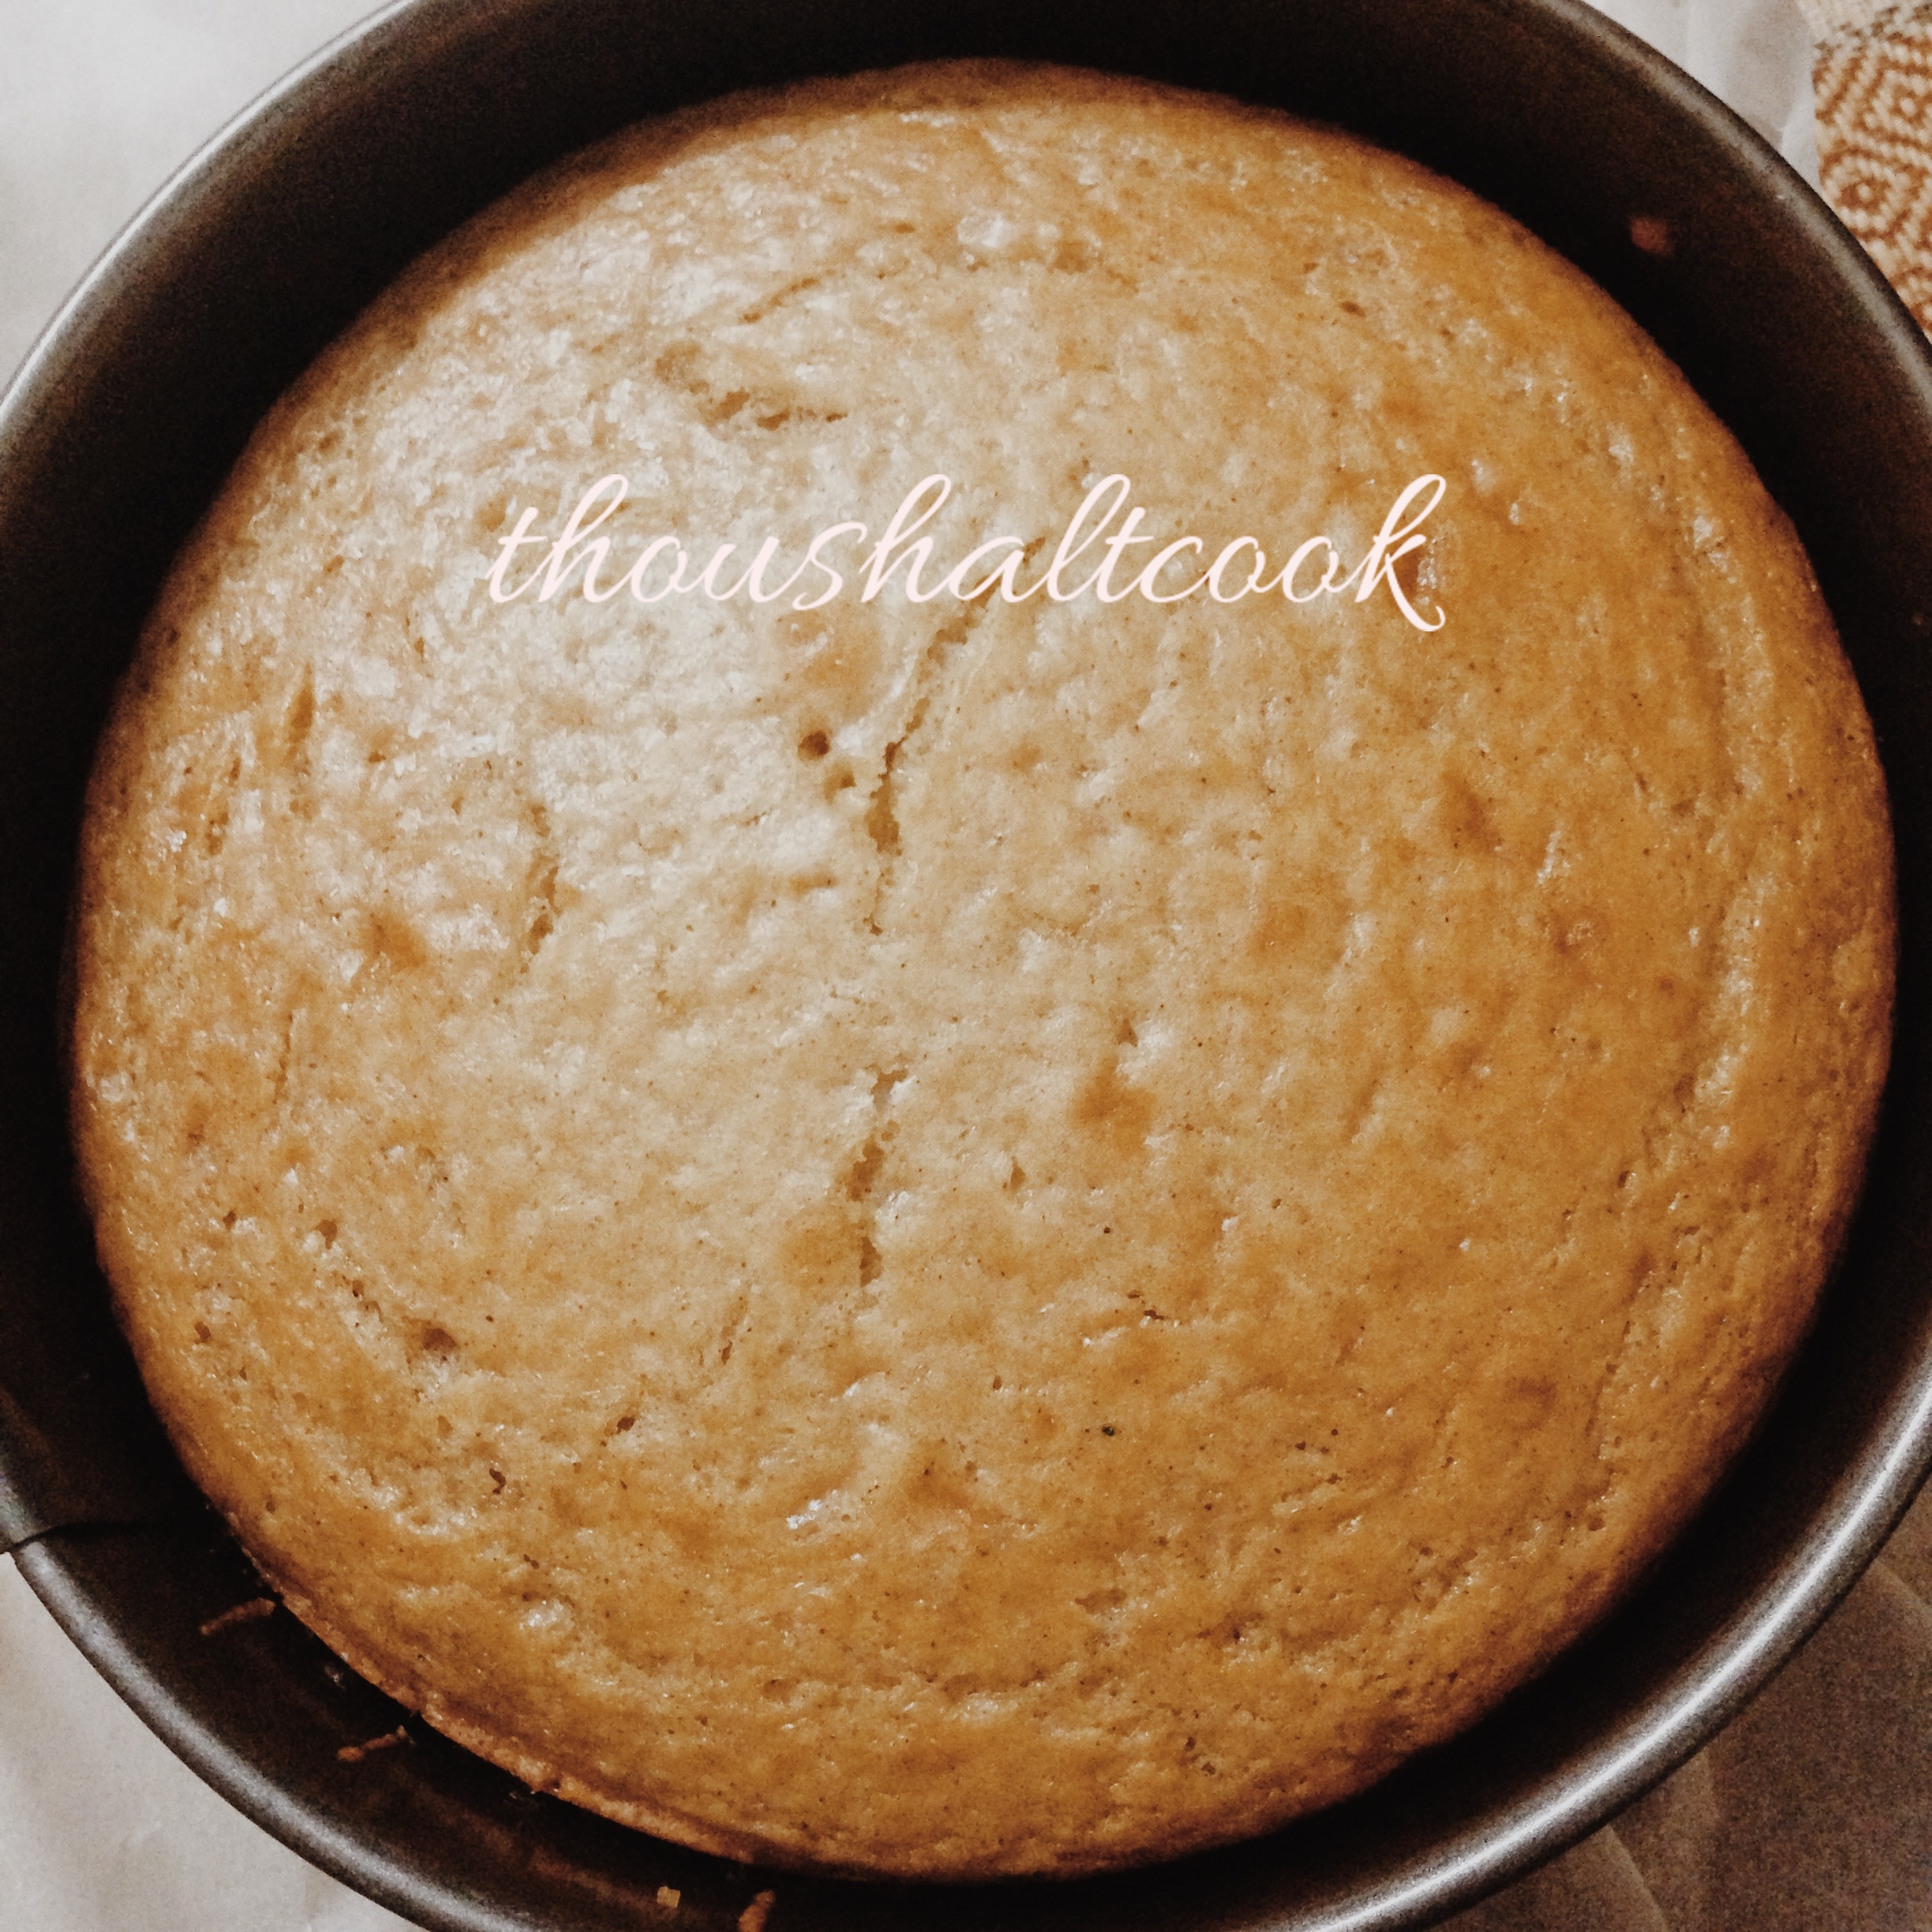
  • Pour the batter on the apples and bake for 30-35 min or until the skewer inserted in the center comes out clean.
  • Once the cake is done, Pull it out and let it sit for atleast 10 min.
  • Remove the pan’s side and turn the cake sponge side down on a plate.
Eggless Upside down apple cake
  • Remove the butter paper carefully. A glossy apples shall make you smile 🙂
Eggless Upside down apple cake

Note:

  1. Keep the butter paper slightly bigger than the base so that the runny sugar and butter can be caught on it.
  2. Try to pack the apples as tightly as possible so that the cake batter gets locked on top of it. Someone of it will find a way to the bottom but that is okay.

Cheers,

Pallavi

Kalakand

Kalakand has been one of those melt in the mouth sweet dishes that make you feel all warm and fuzzy. I made this one for Janmashtmi and it has been a hit among family and friends.

You shall need: [Time taken- 2.5 hours]

2 L Full cream Milk

3 tbsp lemon juice

60 gms sugar

1.5 tsp cardamom powder

20-25 soaked raisins- chopped

Chopped nuts

muslin cloth

Ghee greased tray/plate

Knife

Method:

  • Boil 1L milk in two bowls.[1L in each bowl]
  • With one we shall make paneer and with the other we need to reduce it to half.
  • The milk to be reduced in half should be on a medium slow heat.
  • To the milk for paneer, add a tsp at a time of lemon juice. We want to be cautious about adding the lemon because we do not want the paneer to be sour.
  • Once the milk solids separate, collect the paneer in muslin cloth and let it sit there for 20 min.
  • Once the milk to be halved has reached the desired level, add the sugar, raisins and cardamom powder.
  • Once the sugar is dissolved, add the paneer, little at a time and stir continuously.
  • Now after this point, you cannot really leave the mixture and loiter.
  • Watch it well and keep stirring it so that the mix does not stick to the bottom and burn.
  • So that we want to do here is remove the moisture as much as possible, we want to left with milk solids with a beautiful colour.
  • Once the liquid is evaporated, pour the contents on the greased plate and shape as desired.
  • Put the nuts on top and cover with a lid and put some weight on it. Any liquid that didn’t escape earlier shall find it’s way out.
  • Cut and serve.

kalakand (1)

Notes:

  1. After adding the raisins, the colour of the kalakand shall change a bit. It will look very pale brown. Don’t get alarmed, this is the desired result.
  2. Your milk vessels must me very clean with no trace of soap.
  3. You may add some saffron to get the yellow tinge.

The entry is for The Urban Spice Sweet September Giveaway.

Cheers,

Pallavi

Moong Dal halwa – Ganesh Chaturthi Special #ganeshchatruthi

So Ganesh ji and I have always been friend’s of some sort. I have high respect for him and he makes sure I stay in line. Last year I made some Nariyal laddos so this year I wanted to serve the Lord something that I absolutely Love. Moong Dal halwa holds a very special place in my heart. It is that hearty, wintery and warming dish that reminds me of childhood.

However life goes on and we grow older; this is an ode to the Lord for all things great and the blessings that he bestowed on us. Thank you for being there.

You Shall need: Scantly adapted from Veg recipes of India- Time taken- Soaking [overnight] Cooking [2 hours]

2.5 cups Soaked dhuli moong dal

1.5 cup ghee

3 cup milk

1-3/4 cup sugar – We dont like it sickly sweet hence reduced quantities.

1.5 tsp Cardamom powder – elaichi powder

1/4 cup water

Non stick pan

Mixer-grinder

Spatula

Method:

  • Grind the dal in a mixer to a course paste using the water as scant as possible.
  • Remove to contents from the jar using a spatula or a spoon as deem fit.
  • heat the ghee in a non stick pan on a medium low heat.
  • Add the moong dal mix.
  • Stir it well until the ghee is combined, it will take a few minutes.

halwa1 (1)

  • Let the flame be on medium low and stir as frequently as possible so that the mix does not stick to the pan and cook unevenly.
Processed with VSCOcam with g3 preset
  • This will make sure you make a few trips to the kitchen every now and then.
  • The mark of cooked mix is that the ghee will float on top.
  • Don’t be shy and let it brown.

halwa2 (1)

  • You might feel the ghee is too much as this point, I even took out 3/4 cup of the ghee. But trust me the halwa needs this.
  • Heat the milk and sugar with cardamom until the sugar is dissolved.
  • Once the dal is browning nicely, you may add the milk.
  • Stir and cook until the milk is absorbed. Once the milk was absorbed, I added the ghee back little at a time.

halwa3 (1)

  • Let the halwa brown to the colour that you prefer.
  • Serve with love.
Processed with VSCOcam with c1 preset

Notes:

  1. Do not worry about the dal when it looks like sand after browning- before adding the milk. it is just fine
  2. You may add a few tbsp more sugar if you have a sweet-er tooth
  3. Recipe can be easily halved or doubled.
  4. Be careful with hot ghee, it can cause serious burns.
  5. Keep an eye on the halwa as frequently as possible so avoid uneven browning.
  6. Stir continuously after adding the milk to avoid lumpy mix.
  7. Always cook this halwa on medium-low heat only.
  8. The mix shall bubble a lot, don’t worry. 🙂

The entry is for The Urban Spice Sweet September Giveaway.

Cheers,

Pallavi

Whole Wheat Focaccia

I have a die hard fan of focaccia’s. I have been trying different versions of it but I guess I landed on a recipe that works out the best for me.
For those of you who do not know what this is, focaccia is a flat bread that resembles a pizza dough. It can be topped with tomatoes, olives, onions and herbs.

You shall need:
1.5 cup… Whole wheat flour + more for dusting
1/2 cup… All purpose flour
2.5 tsp… Active dry yeast
1/2 cup… warm water
1 tsp… Sugar
1.5 tsp.. Salt
2-3 tbsp+ more to drizzle on top… Olive oil
2 tsp.. Rosemary
1.5 tsp… Red chilly flakes
1/2… onion sliced in crescents
1 small… tomato sliced in crescents
Few tsp cold water

Method:

  • In the warm water, add yeast and sugar. Cover it and keep aside for 10-15 min to froth.
  • In a bowl, add the flours, salt, red chilly flakes and mix with a fork.
  • Make a well in the center, add the yeast mix and mix well.
  • Add a tbsp of cold water at a time to bring it all together.
  • Once a dough is made, take it out on a clean platform/chopping board.
  • Dust it with some flour and knead, knead and knead. Push the dough away with the base of your palm and bring it back together.
  • Do this until it is nice and smooth and gluten is formed. We are looking for elasticity.
  • Add the oil and knead it one final time.

focc1

  • Put it in a clean bowl and cover it with cling film.
  • Let it rise/proof for 1.5-2 hrs.
  • Once it is done, oil the baking tray.
  • Punch the dough and put it in the tray. Make sure it is well spread. We dont want few flat and few very risen bits.
  • Poke the dough with your finger and drizzle oilve oil.
  • pre heat oven to 170C
  • Put onions and tomatoes on it (press them in) and let it proof for 30 min.

focc2

  •  Bake for 15-20 min. The done-ness of bread will be when you touch it, it should spring back on you.
  • Take it out of the oven. Let it cool down for 10 min.
  • Get it out of the tray and cut it in shape you like.

focc3Let me know how it comes out, if you try 🙂

Cheers,

Pallavi

Sending this to:

Cooking with Herbs Lavender & Lovage

 Simply Sensational Food

funwithegglessbaking  Gayatri’s blog

Cheese Sauce with Cheese Slices

One of those days when you are in no mood to cook but have to entertain guests, this version of the cheese sauce comes to my rescue. Serve it with some chips, veggies, croquet or even nachos and it will never fail you.

You shall need:

5 Nos…. Cheese clices

1 cup… Full cream Milk

1/3 cup… Fresh cream (I used amul)

pepper and salt to taste

Method:

  • Bring the milk and cream to a simmer in a pan.
  • Add slices one by one and whisk until they are melted.
  • Add salt and pepper to taste.
  • Serve with love.

You can also add finely chopped herbs/garlic/paprika/veggies to elevate the taste.

IMG_0490Cheers,

Pallavi

Eggless Dates and Apple cake with streusel topping

I have been dying to make a streusel cake for sometime now. It is noting but a crunchy topping over a beautiful cake. It is very simple to make as well.

I used dates and apples for this cake as I wanted to play around with the sugar comtent of the cake. Adding naturally sweet ingredients gave me that freedom. Here is how you can make this gorgeous cake.

You shall need:

3/4 cup… Whole Wheat flour

3/4 cup… All Purpose Flour

1/2 cup… Chopped pitted dates

1/2 cup… diced apples (I didnt peel them)

1/2 cup… Light brown sugar

1/2 cup… White sugar

1.5 tsp… Baking powder

1 tsp… Salt

1 cup… butter milk (In a cup of milk, add 2 tsp vinegar and let it stand for 5 min. Post this you shall have the butter milk ready to use)

1 cup… refined flavorless oil.

For the topping:

4 tbsp… All purpose flour

2 tbsp… Softened butter

3 tbsp… light brown sugar

Method:

  • Pre heat an oven to 180C and line an 8″ cake tin and keep aside.
  • For the batter, in a bowl, mix the dry ingredients (except the apples and dates) with a whisk and keep aside.
  • In a smaller bowl, mix the wet ingredients.
  • Make a well in the center of the dry ingredients and pour the wet ingredients.
  • Mix well with a spatula.
  • Once all of it is amalgamated, add the apples and dates and mix well.
  • Pout it in the cake tin.
  • For the topping, tip the flour and sugar in a bowl, use a spoon to mix through the butter.
  • You should land up with a rubble of flour and sugar.
  • Cover the cake batter with the topping mix uniformly and bake for 30-35 min or until the skewer inserted in the center comes out clean.

IMG_1062

streusel before being baked
baked streusel
baked streusel

IMG_1058

Cheers,

Pallavi

Slow Cooked Jeera Aalu/potato stir fry

Jeera Aalu is supposed to a Dhaba comfort food. Low maintenance, super easy to put together and hardly anything can go wring with this one. The version I love, has crispy edges and a pillow-y center. Oh it is to die for.

You shall need:

3 medium Size… Potatoes (Washed, peeled and cut in equal size pieces)

2 … green chillies (Slit in the center)

2 tsp… Oil

1 tsp… Jeera/Cumin seeds

2 tsp… Dhaniya powder/coriander powder

2 tsp… Jeera powder/roaster cumin powder

1 tsp… Amchoor powder/Dry mango Powder (Optional)

Salt to taste

Method:

  • In a Kadhai/wok, heat the oil.
  • Add the cumin seeds and green chillies.
  • Reduce the heat for medium-low.
  • Drain the potatoes well and wipe them with a kitchen towel/cloth. We dont want much moisture on it.
  • Add them to the wok.
  • Keep stirring until all the potatoes are covered with oil.
  • Let it cook for about 30 min, stirring occasionally.
  • Add the masalas and salt. mix well.
  • Now let it cook for 20 more min, so that the potatoes are cooked through and have a crispy exterior.
  • Serve with love.

IMG_0059

Cheers,

Pallavi

Sabudana Thalipeeth

The husband and I are fasting for Navratri. I shall be keeping the fast till tomorrow aka saptami while he shall be keeping it will Navmi.

It has been a great opportunity to learn new stuff for the Vrat/fast. I could make sabudana perfectly, made kuttu pooris, aalu kuttu kadhi and dahi wale aalu etc. I saw this recipe on Nishamadhulika.com and wanted to give it a try.

Here is all that you shall need:

1 cup… Sabudana/Sago (Well soaked, drained and dried)

1 cup… Boiled and Mashed potato

1/2 cup… Kuttu/singhade ka aata (Buckwheat/waterchestnut flour)

2-3.. chopped green chillies

1 tsp.. Pepper

Sendha namak to taste (Rock Salt)

Ghee/Oil

A plastic sheet to roll the thalipeeth

A pan/griddle

Method:

  • In a mixing bowl, tip in the potatoes, sabudana, green chillies, flour, salt and pepper and make a soft dough out of it.
  • You shall net need any water to bind this one.
  • Lay the plastic sheet flat on the surface and grease it with ghee/oil.
  • Heat the pan/griddle and put a little oil/ghee on it.
  • Carefully transfer the thalipeeth to the pan.
  • Using a wooden spoon with a round handle, make a hole in the center of the thalipeeth.
  • Put a little oil/ghee in the center and around the surface of the thalipeeth.
  • Cook until one side is nice and brown.
  • Flip it and cook for a few min.
  • Serve it hot with lots of love.

It can be eaten with curd/kadhi/aalu ki subzi etc.

IMG_0002 IMG_0003

Cheers,

Pallavi

Ghiya/Lauki with Chana Daal post a Thailand Trip

A true blue comfort food after eight fabulous days at Thailand. 🙂

Oh I went to Thailand to ring in my 30th Birthday which was on 17 Sept. It is such a beautiful, clean and gorgeous place to be. I didn’t want to come back 😦 Here are few pics from the trip.

Le Meridin, Phuket
Le Meridin, Phuket
Off to La bangla, Phuket
Snorkeling at Phi Phi Island
Phi Phi Island
Phi Phi Island
Ao nang, Krabi
Ao nang, Krabi
Ao Nang, Krabi
Ao Nang, Krabi
Krabi
Krabi

Phew… I promise I will write a detailed post about the trip super soon. 🙂

Here is what you shall need for the Ghiya-Chana dal:

1 tsp… oil

1/8th tsp… hing/asafoetida

1 tsp… Jeera/cumin seeds and mustard seeds

1/2 cup… Chana dal (Soaked in water for about an hour)

1-1.5 cup…. Ghiya/lauki

1 tsp… ginger garlic paste

1 … chopped medium size onion

1… chopped medium size tomato

Juice of 1 lemon (or as per taste)

Water

Salt and red chilly powder (to taste)

2… green chillies (chopped)

coriander (optional)

Method:

  • In a cooker, heat oil. Add the hing and cumin-mustard seeds.
  • Now add the green chillies and onions and let them sweat.
  • Once the onions are translucent, add the ginger garlic paste and tomatoes
  • Cook it for about 1 min.
  • Now add the salt, red chilly powder and ghiya and stir.
  • Add the soaked dal and about half a cup pf water. (Remember ghiya leaves a lot of water)
  • Put the lid on and let the first whistle be on full flame.
  • Once it comes, reduce the flame to medium and let it cook for 10 min.
  • Turn off the gas and let the pressure fall on it own.
  • Open the cooker lid, add lemon juice and coriander.
  • Reduce the liquid as much as you wish and serve with love.

IMG_9799

Cheers,

Pallavi

Eggless Coca Cola Cake

Has the 1/3rd coca cola in the bottle ever bothered you? I am stuck with a few of them each time we order pizza. I dont drink fizzy drinks so the husband has to fend for himself, not that he minds it 🙂

I got such a lovely response from people for this cake that I had to post the recipe as soon as I could. Thank you generous people 🙂

So here it goes. You shall need (Makes one 7″-8″ cake)

1 cup… All purpose Flour/Maida

3/4 cup… Castor sugar (Fine grain white sugar will also do)

3 tbsp… Good quality cocoa

1 tsp… Baking soda

1 tsp… Baking powder

1/2 tsp… Salt

1/3 cup… Oil

1/3 cup… Unsalted butter (If you use salted butte then skip the salt mentioned in the recipe)

1/3 cup… Butter milk (In 1/3 cup milk, add 4-5 drops  of vinegar and let it stand for 5 min)

1 cup.. coca cola (Which is roughly about 1/3 of the 300 ml bottle)

To assemble:

Filling of your choice {I used the pillsbury white butter cream icing and tuti frutti}

Nutella

Decorations

Method:

  • Pre heat oven to 180C and line the cake mould with butter paper.
  • Sift all the baking powder, baking soda, salt, cocoa and all purpose flour.
  • Add sugar and whisk it in.
  • In a small pan,heat the oil and butter until the butter is melted. Cool it down for 5-7 min.
  • Make a well in the dry ingredients and add the oil-butter mix and butter milk.
  • At this point we only want to mix it slightly and dont want to make a dough.
  • Now add the coca cola and stir it all until well incorporated.
  • The batter shall be thin but that is what we are looking for.
  • Do not over mix and pour in the lined container.
  • Bake for 20-25 min or until a skewer inserted in the centre of the cake comes out clean.
  • The cake would have risen beautifully but shall sink a bit when it s cooling down.
  • The cake is extremely soft and moist so handle it carefully.
  • I layered the cake but then after doing that found it to be not such a good idea given that the cake is so soft.
  • You can put in a filling of your choice or just top it off with nutella and share with love.

coca cola cake coca cola cake 2

Cheers,

Pallavi

Â